Daily Start Up Guide
Important
Only trained personnel must operate the printer.
Caution
Eyes harzard. Risk of eye injury.
(PPE) Personal Protective Equipment required. Wear safety glasses and nitrile gloves.
Daily Start Up Checklist
Important
The following checklist must be completed before to start production day.
The customer is responsible for all the items on the checklist and must to follow all the procedures related below to ensure good equipment operation and quality output jobs.
Power Up
Turn on the main switch.
Turn on the computer system.

Wait 2 minutes for the network initialization.
Checking Network connections
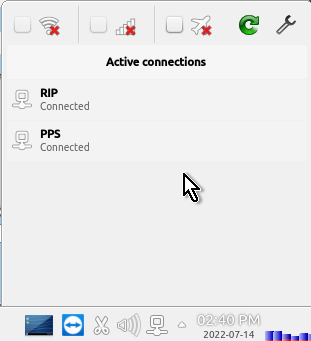
Open the network editor for check the network connections.
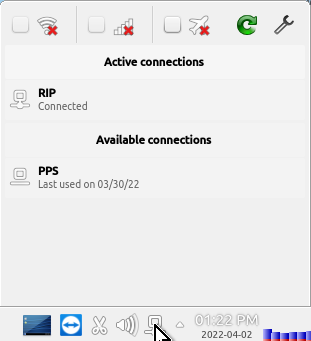
Check the network connections. If PPS is not connected, press the “Connect” button
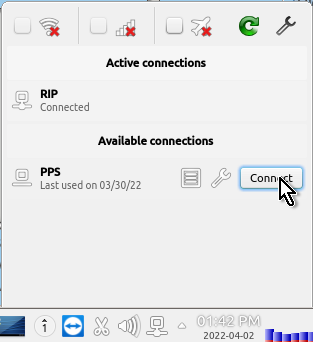
Check the PPS network connection ready prior to run the Launch application.
Printer Initialization
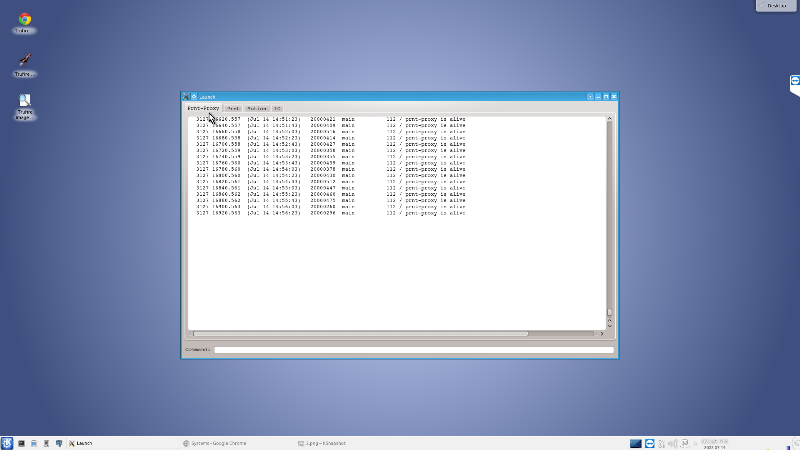
Run the TruFire Launch application from the desktop. Double click on the rocket icon.
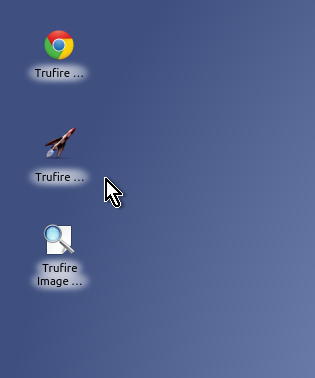
The image below shows the Launch appliction running.
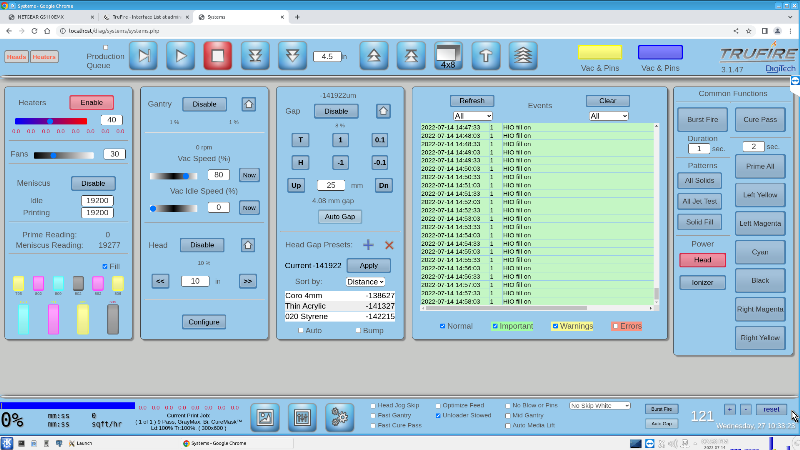
Run the TruFire GUI application from the desktop. Click on the Chrome TruFire icon.
The image below shows the TruFire GUI running.
Motion System
Home the Gantry. Make sure the gantry is towards the front. If needed to move mannualy do not slam the gantry with the hard stops.
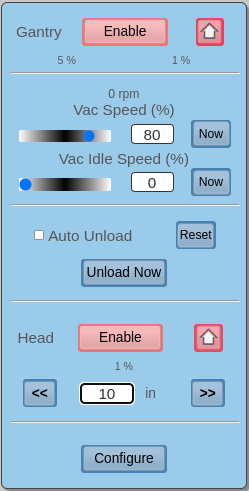
Home the Head Carriage. Make sure the headbox is at home position. If needed to move mannualy do not slam the headbox with the hard stops.
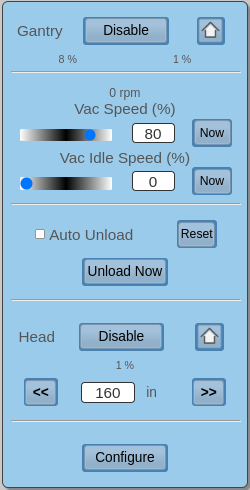
Home the Head Z Motor. Make sure the head is close to the home position then press the home icon.
Daily Maintenance Requirement
Important
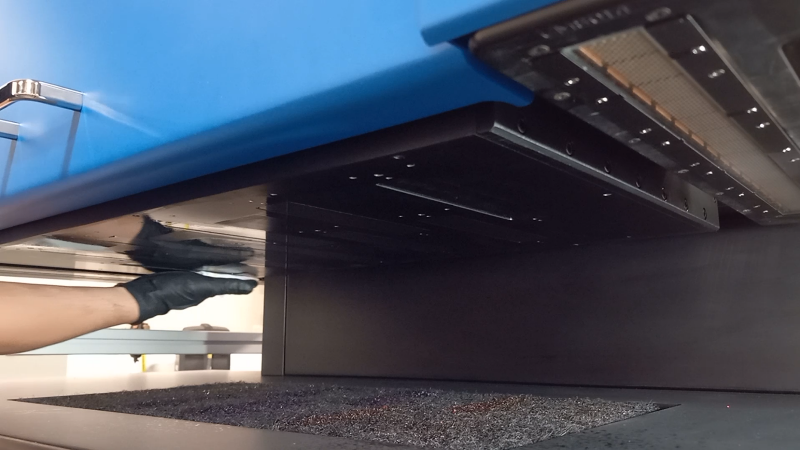
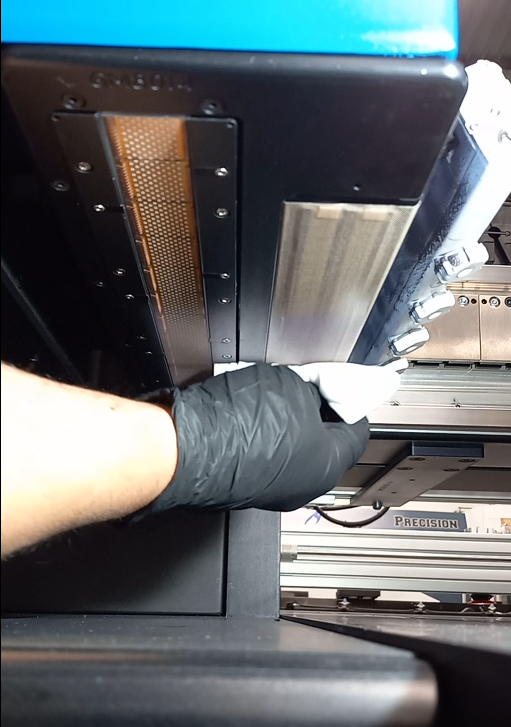
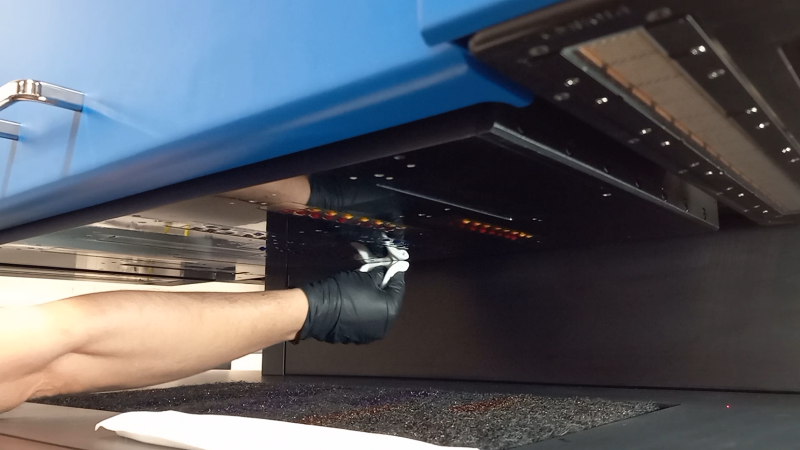
Wipe the heads with lint free embed TruFire Flush. Follow the [Video] for a full reference xxxx
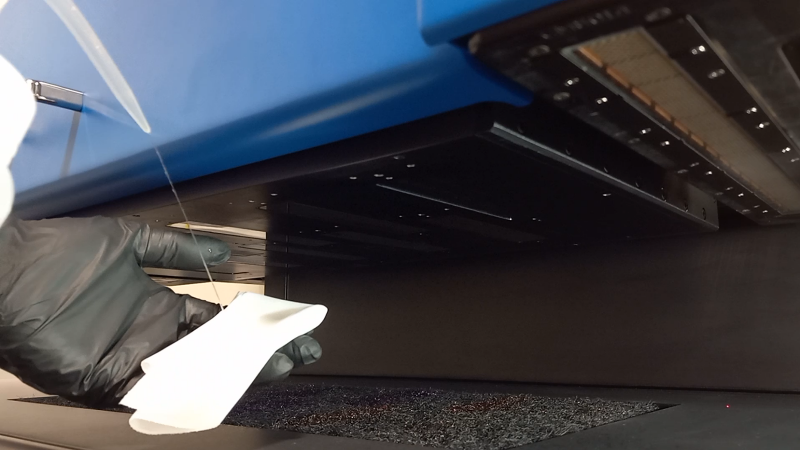
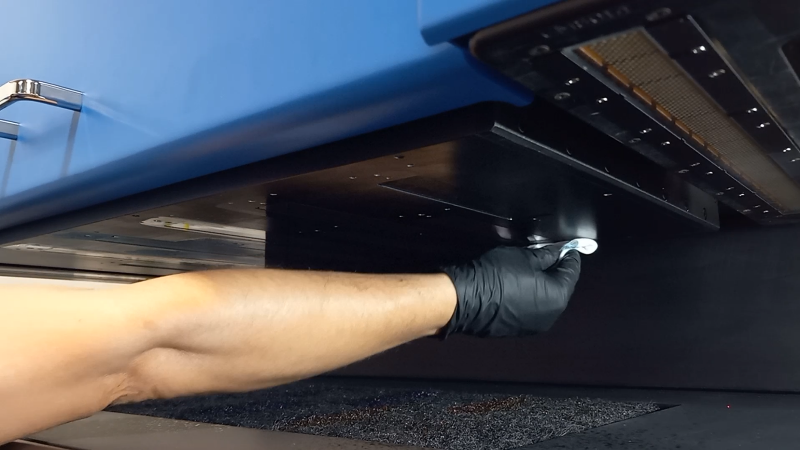
Important
Wipe the printhead plate with lint free embed Trufire Flush. Follow the [Video] for a full reference xxxx
Caution
Do not leave the printheads with flush for long period of time. Prime the heads is mandatory after wiping the printheads with flush.
Important
Wipe the UV lamps with lint free embed IPA (isopropyl alcohol 99%) Follow the [Video] for a full reference xxxx
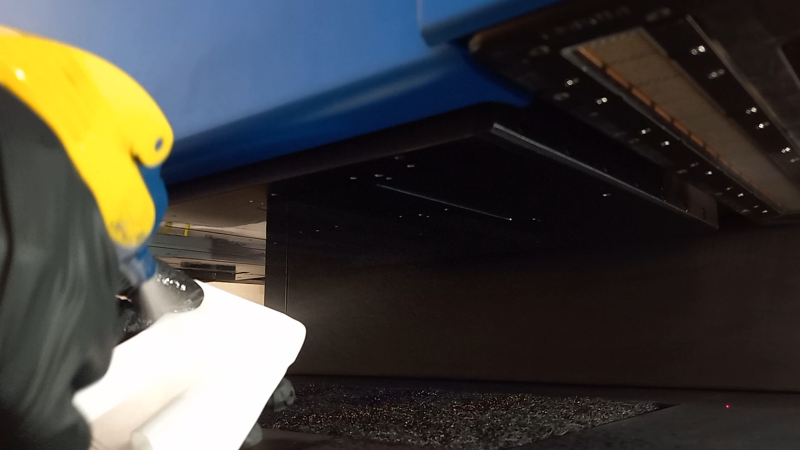
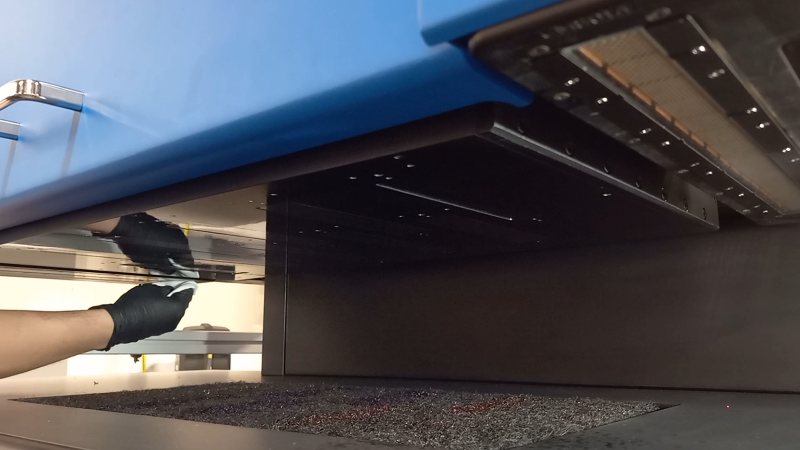
Important
Wipe the head crash sensors with lint free embed IPA (isopropyl alcohol 99%) Follow the [Video] for a full reference xxxx
Important
Wipe the lamp covers with IPA alcohol.

Important
Wipe the home area with IPA alcohol.
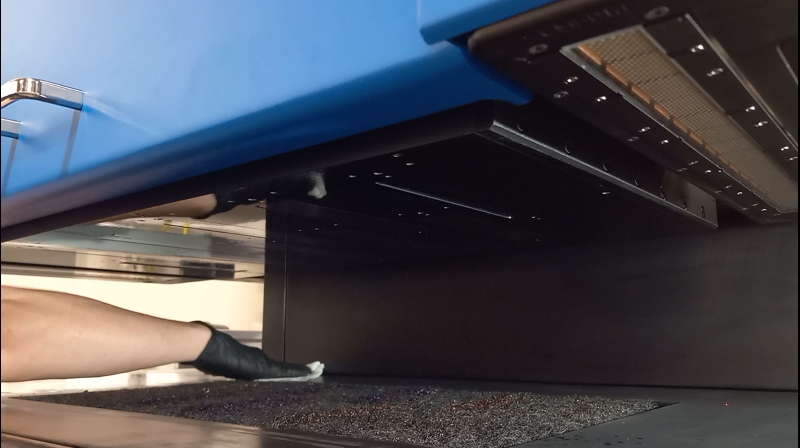
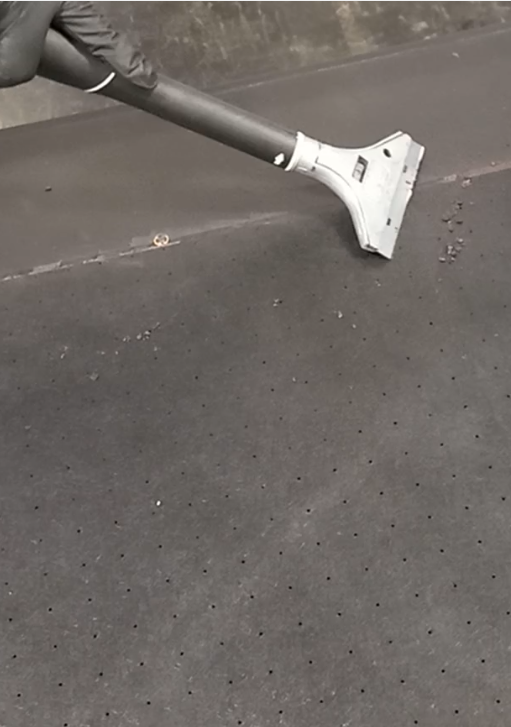
Important
Remove cure ink residues from the table. Follow the [Video] for a full reference xxxx
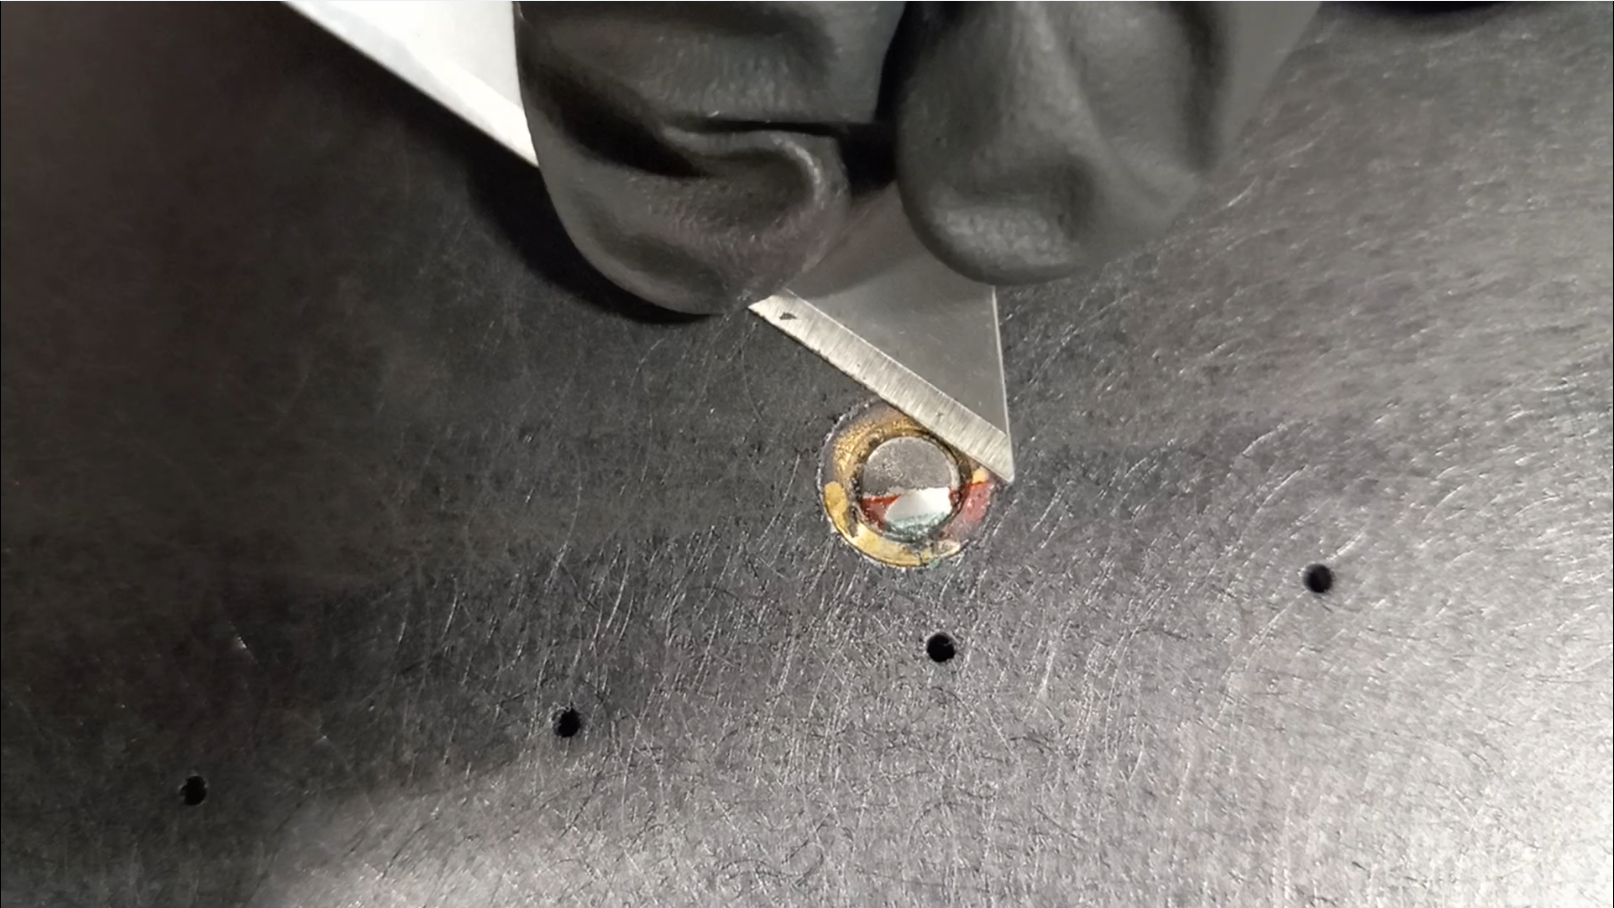
Important
Remove cure ink from the pins. Follow the [Video] for a full reference xxxx
Important
Wipe entire equipment
Keep the equipment clean and dust-free.
Filling the ink buckets
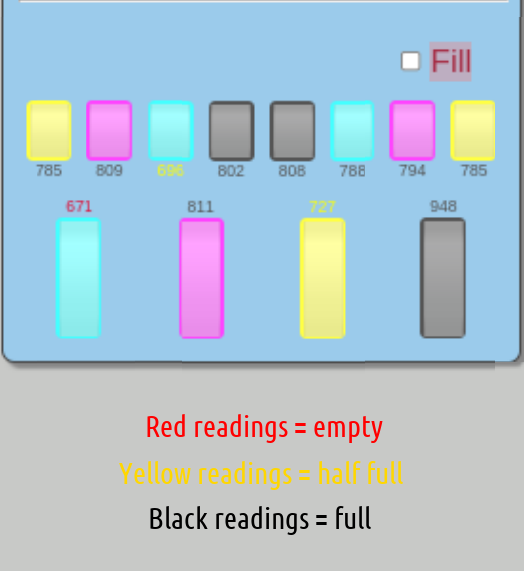
Check the ink levels on the GUI. Red readings the ink bucket is empty, yellow readings the ink bucket is half full and black readings the buckets are full.
Important
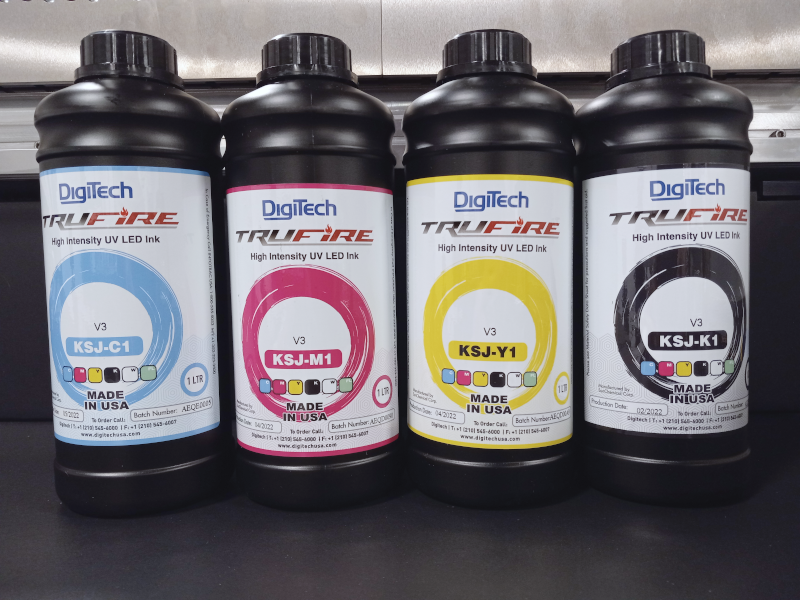
Only use the inks and flush cleaning solution / head surface cleaner recommended by Digitech.
KSJ-C1 Cyan
KSJ-M1 Magenta
KSJ-Y1 Yelow
KSJ-K1 Black
KSJ-FL1 Flush and Head Surface Cleaner
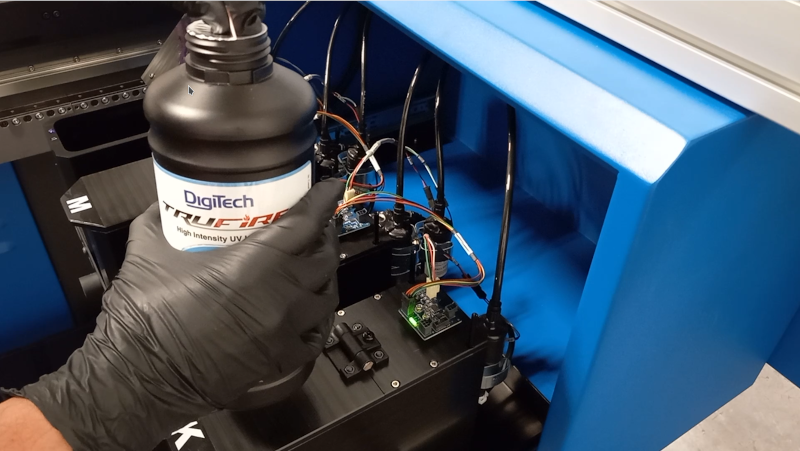
Open the ink bucket cabinet located on the right back gantry, pull the tray and fill up the ink on each bucket according to its label.
Check ‘How to Filling up the ink buckets’ [Video] for a full reference. xxxxxxxxxxxxxxxxxxxxxxxxxxxxxx
Priming the printheads
Three seconds Prime all from the GUI.
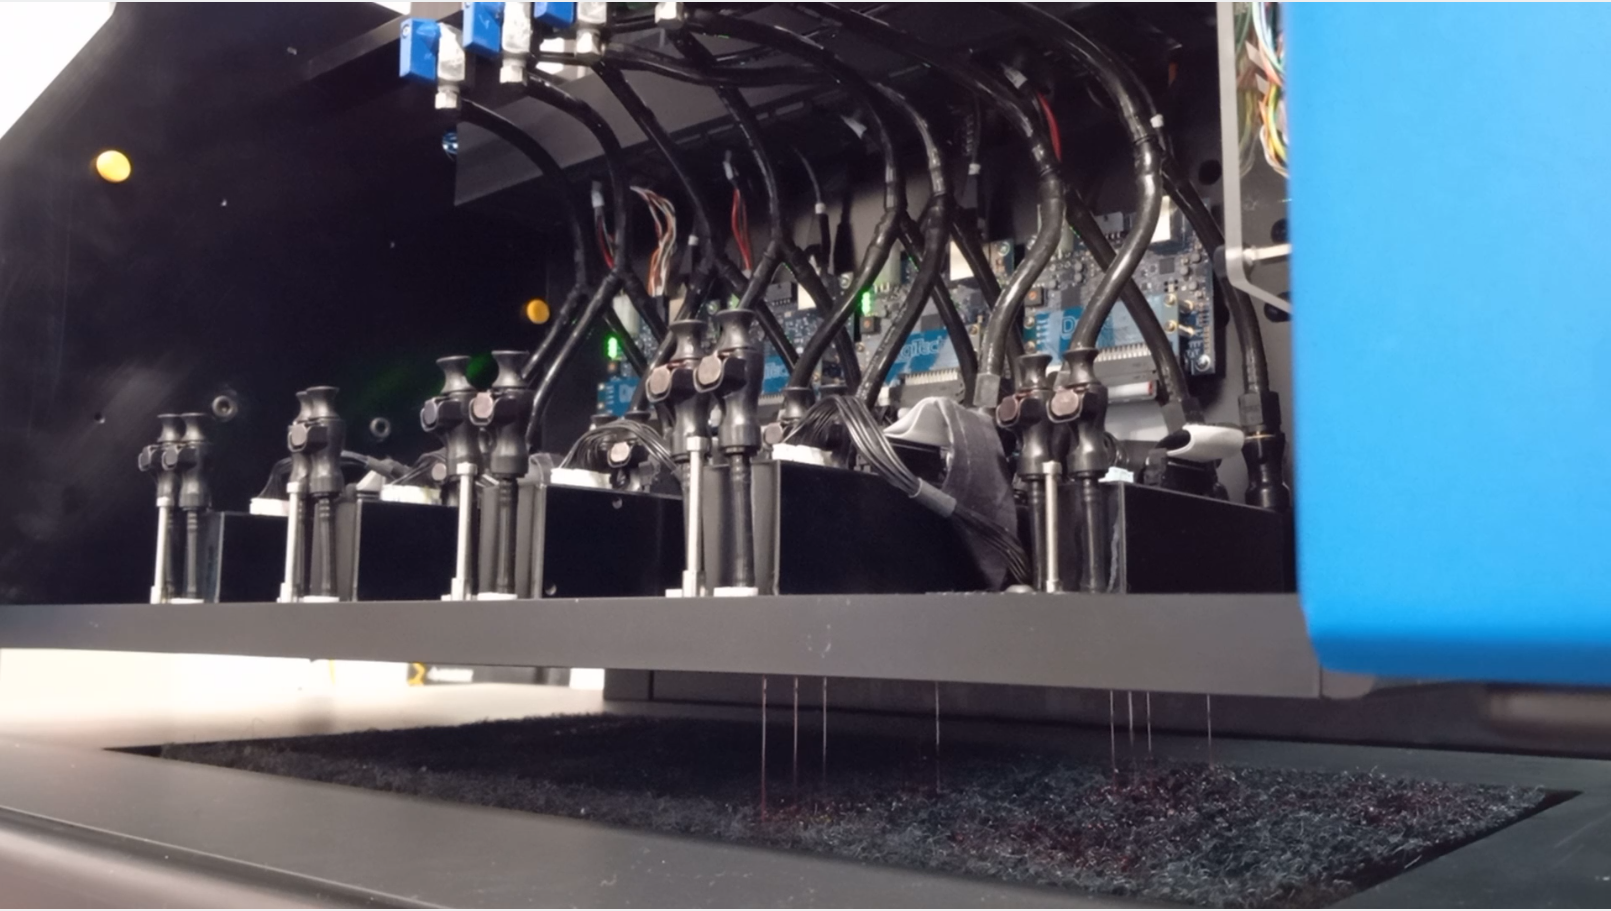
Move the Head to the maximum height.
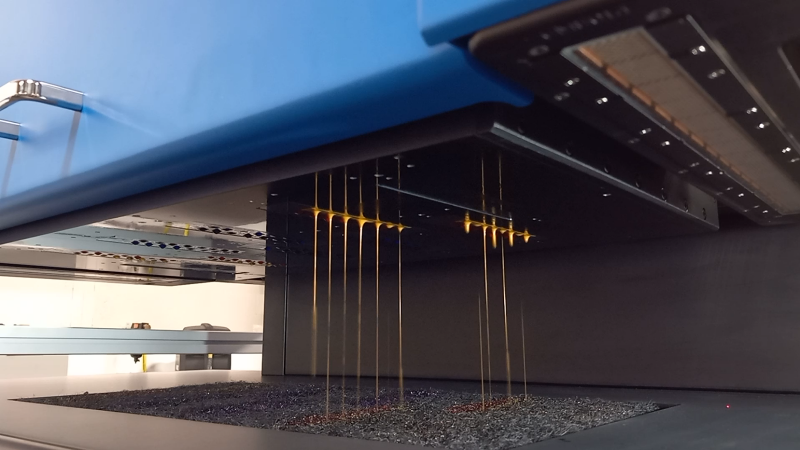
Wipe the printheads with lint free.
Home the Head.
Daily White Procedure
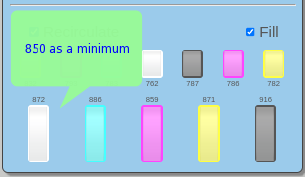
Make sure the white valve is ON allowing the white ink to recirculate.
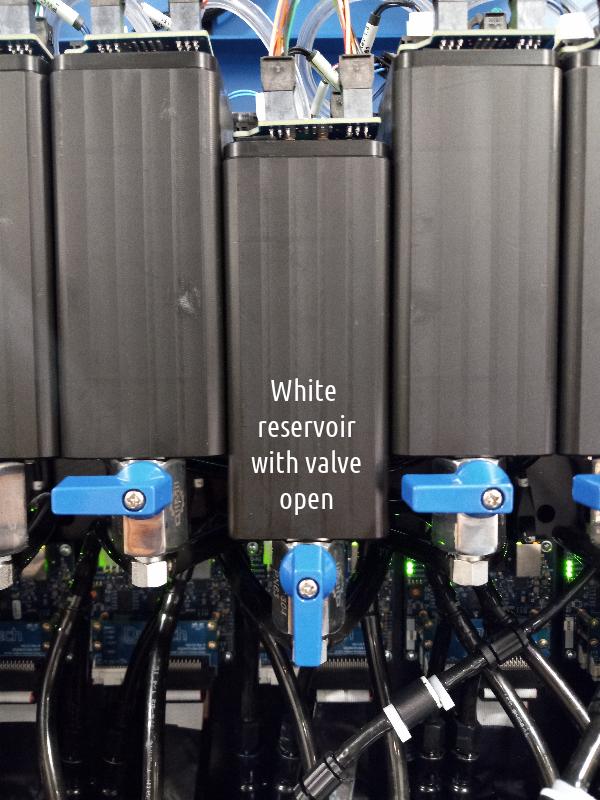
Make sure the bucket has enough white ink (850 level as a minimum) otherwise, the re- circulation will turn off.
Preparing Media for Print
Pins up from GUI or the pedal.
Place material over the table and align with the pins.
Pins down from GUI or the pedal.
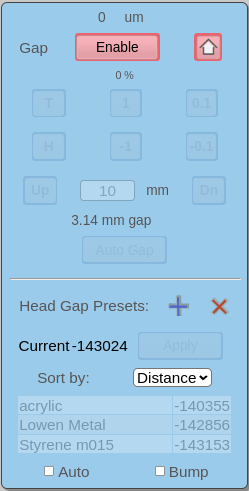
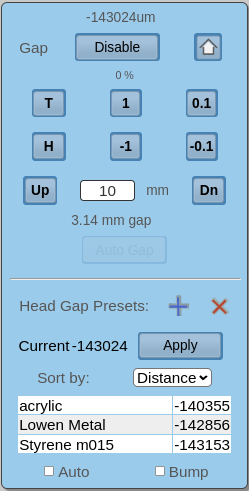
Autogap the material from the GUI.
Run Jet Test from the GUI.
Run All Solids from the GUI.
Starting Production
From the GUI layout pick an image.
According to the media set Jet Mode and Pass.
Print the job.